Please read the below guides before contacting our support line.
This website may use cookies. For more information on how they are used and how to disable them see our Privacy Policy. Not accepting cookies may affect your experience of this site.

Please read the below guides before contacting our support line.
STEP 1
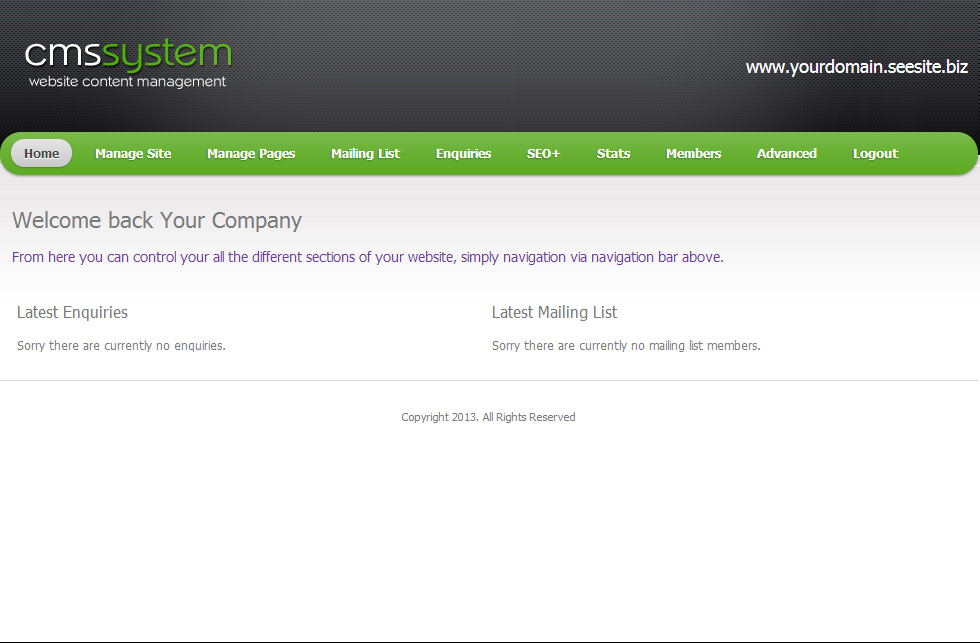
Once you have logged in to the Content Management System you will be given a similar screen.
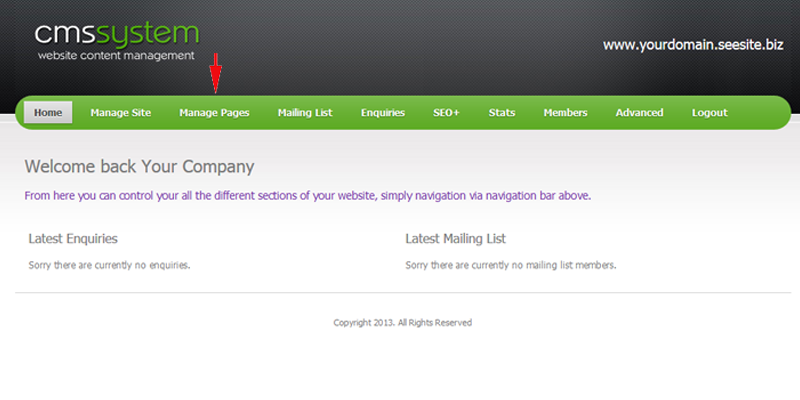
Move your mouse over the manage site section.

STEP 3
Once the drop down has appeared click on Manage Website Details.

STEP 4
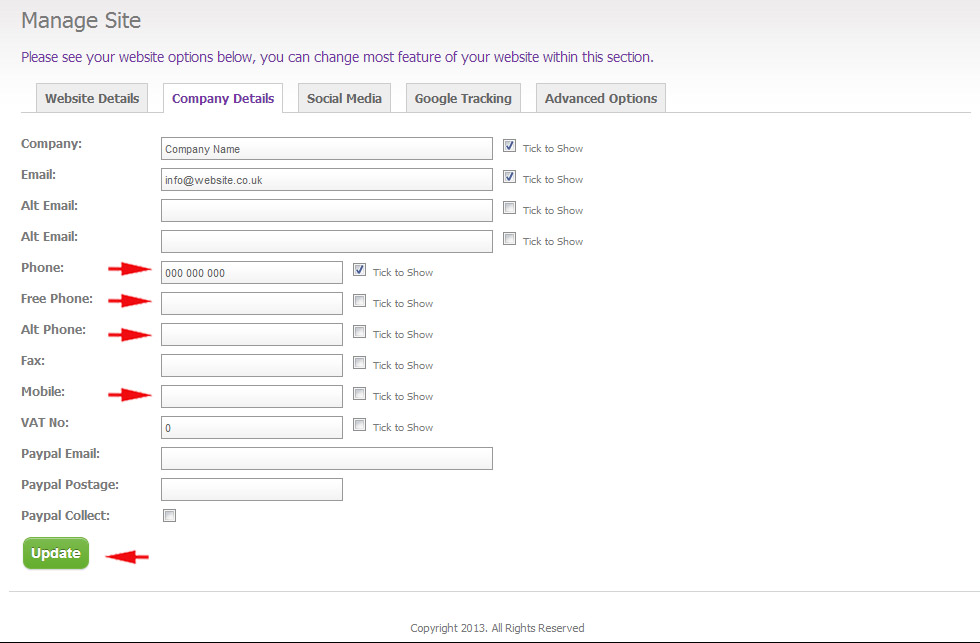
Here is where you can change your telephone numbers. Also you can tick the boxes for them to show in contact details.
Make sure once you are done changing your telephone numbers to click update at the bottom of the page.
STEP 1
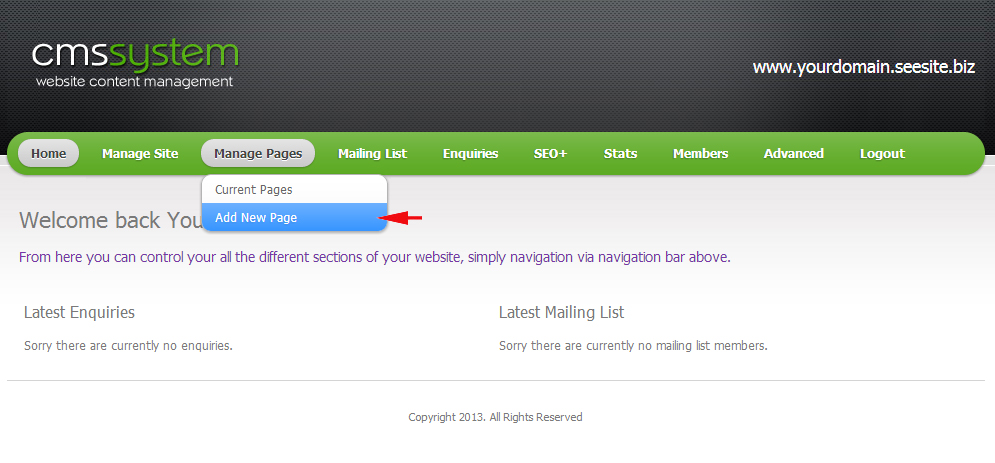
First Hover over “Manage Pages”.

STEP 2
Next Click Add New Page.
STEP 3
You will then need to fill in the basic information for your new page.

STEP 4
When you have fill in all the information for the page click the submit button in the bottom left.

STEP 5
You have now added a new page to your site that will be displayed in the navigation of your site.
STEP 1
First Hover over “Manage Pages”.
STEP 2
Next Click ‘Current Pages’.

STEP 3
You will then need to click the drop down box to the right of the page you wish to edit, then click ‘Edit page’.

STEP 4
Here you can edit the type of page you want, this can range from; Standard, Gallery, Products, etc. if you wish to have a normal text and images page, select ‘Standard’.

STEP 5
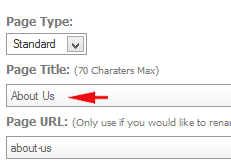
You can edit the ‘Page Title’, which will display on a tab of your browser as to what page you are on. Your ‘Page URL’ field will need to reflect what you put in the ‘Page Title’, but will need to be formatted with lowercase letters and hyphens (-) for spaces.
STEP 6
You can edit the Keywords for each page, these need to be relevant to your business and separated with commas.

STEP 7
You can edit the meta description here, this is the description of each page and will need to contain the keywords you have entered into your ‘keywords’ field (above [see below for example]).

STEP 8
You can add/edit a background image for the content area of that particular page. Simply click ‘Browse’ and select the image you wish to use. Then choose the option to the right for styling if needed.

STEP 9
You can edit your pages main content here, by using the tools similar to Word. You have your main text, which is editable with the bold/italic and color tools etc. You also have the tools allowing you to add tables and images.

STEP 10
Once you are happy with your page and wish to save your changes, simply click the ‘Submit’ button at the bottom of the page.

STEP 1
First Hover over the “Manage Site” button.

STEP 2
Next step is to click on “Manage Header Banners” from the drop down list.

STEP 3
The Most basic way of adding a banner is to click the choose file button select the image you want from your computer and click ok. Important you will need to make the new image the same size as the images that are currently in your site, you can find out what size images your site uses by reading step 6 below.

OPTIONAL FEATURES
STEP 4: ADDING TEXT AND A LINK TO YOUR BANNERS
you can add text over the images in your banners by filling in the title and description boxes then selecting your image from the choose file button and submitting the banner
Your can also turn the banner into a click able link by pasting a URL (Eg: https://www.getyourmobi.co.uk) into the link box.

STEP 5: DIFFERENT BANNERS ON EACH PAGE
You can have different banners in each page by using the select page function you do this by choosing a file as you would normally and then clicking “select page”, a drop down of all the pages currently in your site will be displayed you can select one and then submit as you would with a normal banner.

STEP 6: FINDING OUT WHAT SIZE YOUR BANNERS ARE
Important you will need image editing software to resize your images to the correct banner size
you can find out what size your banners are by clicking the image of a current banner that will be listed at the bottom of the page under current banners, this will open the image on its own in a separate tab. You can now save this image or copy and paste it into any image editing software.

STEP 7: EDITING CURRENT BANNERS
You can edit the images and/or text of any current banners by clicking the edit button on the right of the image under the current banners section at the bottom the page.
When you have clicked on edit you will be looking at a page similar to the new banner section only it will have information that you had previously entered for that banner, you can edit this information and click submit to save.

STEP 1
Once logged into the CMS you should see a screen like the one below, hover over manage sites and scroll down to “Manage Address” as shown below….

STEP 2
Now click “Manage Address” and you should be taken to a page similar to the one below, enter your address details then hit submit at the bottom of the page….

STEP 1
Firstly login into the CMS System.
STEP 2
On the home page hover over the “Manage site” button on the navigation bar, a drop down box will appear with options. Click the “Sidebar” option.
STEP 3
On the sidebar page click in the “Description box”, to add text start typing, to upload image click the “Upload image button“.
STEP 4
When you click the upload image button a drop box will appear, click on the “Choose file button”, then choose the image of you want to add and double click on the image, this will upload the image into the description box.
STEP 5
When you are happy with image and/or text click “Submit“.
STEP 6
Check the website to see if it’s how you want it.
STEP 1
Once you are logged in to the content management system you will be given this screen where you will be navigated to help you upload and link a file on to your site.

STEP 2
If you move your mouse and hover over the Advanced Tab on the navigation a drop down box will appear, then click on File Bank.

STEP 3
Here you will be able to select the file you wish to upload in to the file bank.
Start by clicking the Choose File button and locate the file that is on your computer.
Once you have selected the file it will show the file name in the box. Then click Submit.

STEP 4
Once the file has been uploaded if you click the Current Files tab
Your files will appear here and they are date ordered so you can keep track of what files you have uploaded.
Highlight the whole link and Copy the link.
If you are unsure which file you have uploaded you can click the View button to view the file you have uploaded.

Remember: If you delete your file and it is linked up it wont show and you will have to re add the link.
STEP 5
Hover over Manage Pages and a drop down will appear, click Current Pages.

STEP 6
Find the page you want to upload the link in to click Select Action and then Edit Page

STEP 7
Find the content you would like to link.
High light the text and click remove link. (this only applies if there was a link already on this text)

STEP 8
Make sure your text is still highlighted
Click Add Link ( Next to Remove Link icon)
In the URL section delete the https:// that’s already in there then Paste in the URL you had from the file bank.
For the title section you can pop the title of the link you want its optional.
In the Open In section you can choose whether you want the file once clicked to open in the current window or a new window on you browser.
Once you have filled in these details you click the little submit button in the bottom left of the box indicated below.

STEP 9
As you can see the text has been highlighted green this shows that there is an active link in there.
Once you link is active you will need to submit the page for everything to be saved.

STEP 1
Allows you to select the type of content for the sub footer, for standard text and images select ‘Text & Images’.

STEP 2
Allows you to change the position of the sub footer from the top of the page to the bottom.

STEP 3
Allows you to select individual pages the sub footer will display, for all pages select ‘All’.

STEP 4
Allows you to add a link to a different page within your site.

STEP 5
Allows you to add a title to you sub footer, this will display at the top of your sub footer box and will help distinguish between sub footers when editing them.

STEP 6
This area is for adding your content, if you select a different ‘Type’ at the top of the page such as ‘Contact Details’ you will not need to add content in this area as the CMS will add it automatically from the CMS’s data.

STEP 7
This allows you to add an image to you sub footer article (this will place the image underneath your sub footer title).

STEP 8
This will allow you to add a link to an external source (for example: an external site).

STEP 9
Once all changes have been made click ‘Submit’.
STEP 10
In order to edit the sub footers you have already created, simply click the tab ‘Current’ and then click ‘Edit’ to the right of the sub footer you have created. Then you will be represented with the fields previously explained.

Step 1.
Firstly login into the CMS System.
Step 2.
On the home page hover over the “Manage site” button on the navigation bar, a drop down box will appear with options. Click the “Sidebar”option.
Step 3.
Click on the “Type” box. A drop box will appear with options. Click on the option “Contact Form”.
Step 4.
Once you have chosen the option “Contact Form” click the button “Submit”.
Step 5.
Check the website to see if its how you want it.
Step 1.
Firstly login into the CMS System.
Step 2.
Click on the “Manage Site” button.
Step 3.
Click on the “Company Details” button.
Step 4.
Click in the “Email text box”.
Step 5.
Type your chosen Email address into the text box.
Step 6.
Click the “Update” button.
Step 7.
Check the website to see if its how you want it.
Step 1.
Firstly login into the CMS System.
Step 2.
On the home page hover over the the “Manage Pages” button on the navigation bar, a drop down box will appear with options. Click the “Add New Page” option.
Step 3.
On the “New page” page, Click on the “Page Type” box, a drop down box will appear. Click on the “News” option.
Step 4.
Click in the “Page Name” text box and type name of your News page. i.e. News.
Step 5.
Click in the “Meta Keywords” text box and type any associated words to this page to aid search from search engine.
Step 6.
Click in the “Meta Description” text box and type a description of the page and its contents to aid search from search engine.
Step 7.
Click in the “Page Content” text box and type a paragraph to inform customers what this page is and what they will find here. (This will appear on the page under the page name)
Step 8.
When happy click the “Submit” button.
Step 9.
Check website to see if its how you want it.
(To add an article please see “How to Add an Article to News Page”)
Step 1.
Firstly login into the CMS System.
Step 2.
On the home page hover over the the “Manage Pages” button on the navigation bar, a drop down box will appear with options. Click the “Current Pages” option.
Step 3.
Locate the option bar named “News”, click in the “Select Action” box and then click on the “Add/Edit News” option.
Step 4.
Click on the words “Add News Article”.
Step 5.
Click in the “Title” text box and type the title of your news.
Step 6.
Click in the “Description” text box and type your news.
Step 7.
To add an image with your news, click in the “Description” text box after your text, then click the “Upload image” button positioned on the top bar of the description box, click “Choose File” on the drop box, and double click on your chosen image.
Step 8.
When happy click the “Submit” button.
Step 9.
Check website to see if its how you like it.
Step 1.
Firstly login into the CMS System.
Step 2.
On the home page hover over the “Manage site” button on the navigation bar, a drop down box will appear with options. Click the ” Sidebar”option.
Step 3.
Click on the “Type” box. A drop box will appear with options. Click on the option “Contact Details”.
Step 4.
Once you have chosen the option “Contact Details” click the button “Submit”.
Step 5.
Check the website to see if its how you want it.
Step 1.
Firstly login into the CMS System.
Step 2.
On the home page hover over the “Manage site” button on the navigation bar, a drop down box will appear with options. Click the “Sidebar”option.
Step 3.
Click on the “Type” box. A drop box will appear with options. Click on the option “Mailing List”.
Step 4.
Once you have chosen the option “Mailing List” click the button “Submit”.
Step 5.
Check the website to see if its how you want it.
Step 1.
Firstly login into the CMS System.
Step 2.
On the home page hover over the “Manage site” button on the navigation bar, a drop down box will appear with options. Click the “Sidebar”option.
Step 3.
Click on the “Type” box. A drop box will appear with options. Click on the option “Navigation”.
Step 4.
Once you have chosen the option “Navigation” click the button “Submit”.
Step 5.
Check the website to see if its how you want it.
Step 1.
Firstly login into the CMS System.
Step 2.
On the home page hover over the “Manage site” button on the navigation bar, a drop down box will appear with options. Click the “Sidebar”option.
Step 3.
Click on the “Type” box. A drop box will appear with options. Click on the option “Request a call Back”.
Step 4.
Once you have chosen the option “Request a Call Back” click the button “Submit”.
Step 5.
Check the website to see if its how you want it.
Below is a step by step guide on how to add a product into your website…
STEP 1
You should see something similar to the screenshot below.

STEP 2
Hover over the “Manage Pages” tab as shown below and a drop down menu should appear.

STEP 3
Click “Add New Page” and you should be taken to a screen similar to the one below, Click the drop down box that says “Standard” and scroll down to “Products” and click.

STEP 4

STEP 5

Step 6
Once you’ve clicked Add Product you’ll be taken to a page similar to the one below, Once you’ve filled in the details like below SCROLL BACK TO THE TOP to add product images.

Step 7
Once at the top you should see a tab “Product Images” Click this and you should see a screen similar to the one below.

Step 8
Once you have uploaded your images scroll to the bottom and hit Update, you will then be taken back to the product list page scroll to the bottom of that page and hit Submit.